


The developer of RegCleaner, jv16 PowerTools, Uninstalr, WinFindr, Startup Timer, ScreenshotX, System Examiner and Windows Update Fixer.
In this article, we’ll explain what System Restore is and give you a step-by-step guide to perform system restore. If you’re not using Windows 11, you can also check out our other blog articles on how to use System Restore on Windows 7, Windows 8/8.1, and Windows 10.
Table of Contents
What is System Restore?
System restore is a tool designed by Microsoft Windows, to repair and provide protection to your operating system. It helps Windows users fix problems that occur during app installation or data corruption by restoring the previous working state, also known as the previous restore point.
Think of it as a “time machine” for your computer that only goes to the past, except you can’t go to any time you want. You need to choose between the available time windows in the past created by your computer through restore points.
Performing system restore shouldn’t affect your personal files. Technically your personal files should still be there after performing a system restore. However, we recommend performing regular backups to your system in case you need to get your files back for some reason.
System restore requires restore points to work. If there are no restore points in your computer, you can’t perform system restore and you will have to choose other troubleshooting steps, such as File History or Windows Backup.
Enable System Restore on Windows 11
While System Restore is enabled automatically on previous Windows versions, in Windows 11 you’ll need to manually enable the option. Here’s the step-by-step on how to do this:
- Type in “Create a restore point” on the Windows search bar > click the menu from the search results

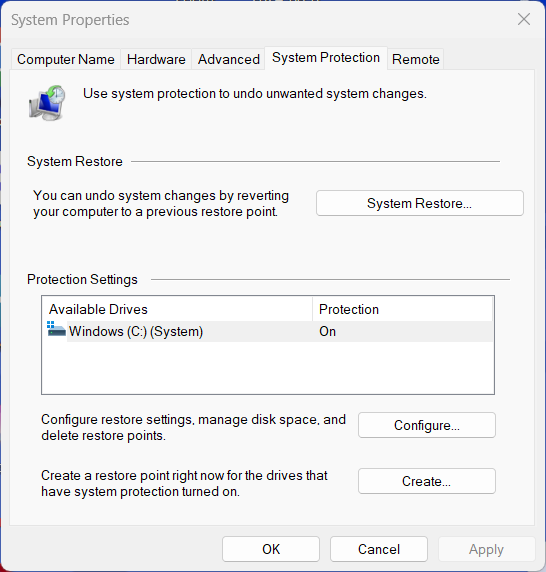
- In the new “System Properties” window, select the “System Protection” tab
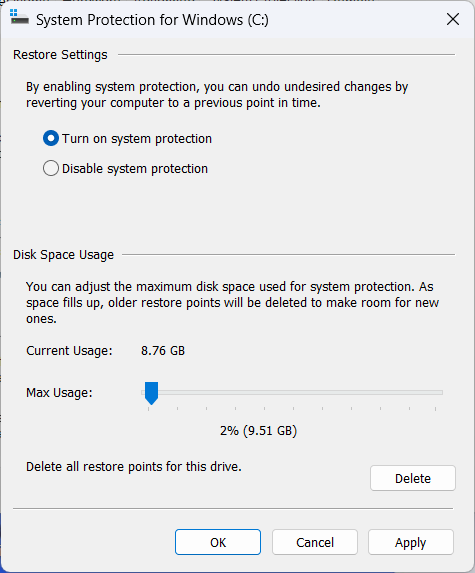
- Select the driver under the “Protection Settings” menu > click the “Configure…” button
- In the new “System Protection for Windows (C:)” window, enable the “Turn on system protection option > select how much the maximum drive space you want to use from the slider > click the “OK” button
Create System Restore Point on Windows 11
Here’s how you can create a system restore point on Windows 11:
- Type in “Create a restore point” on the Windows search bar > click the menu from the search results
- In the new “System Properties” window, select the “System Protection” tab
- Click the “Create…” button under the Protection Settings menu
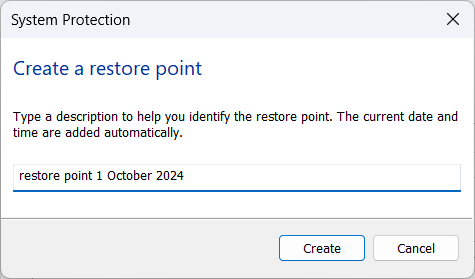
- In the new window, type in a short description of the restore point > click the “Create” button
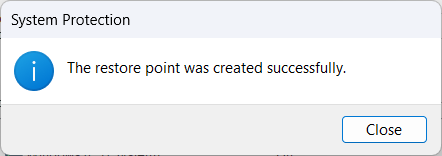
- Once it’s done, there will be a new information window saying that the restore point has been created > Click the “Close” button
Perform System Restore on Windows 11
Once you have created a system restore point, you can perform a system restore following this step-by-step process:
- Type in “Create a restore point” on the Windows search bar > click the menu from the search results
- In the new “System Properties” window, select the “System Protection” tab > click the “System Restore…” button
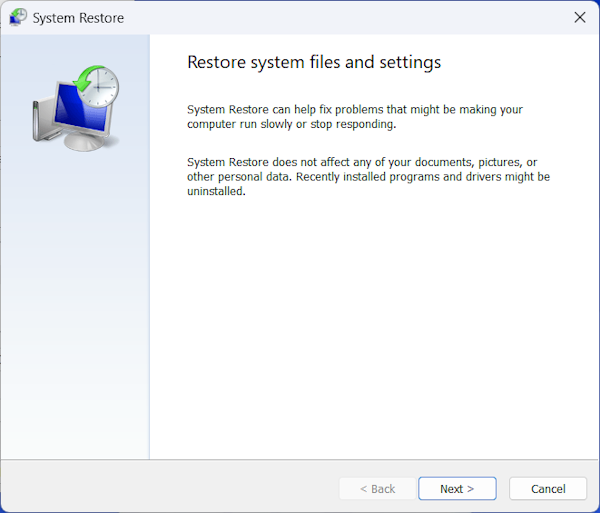
- A new warning window will appear, click the “Next>” button
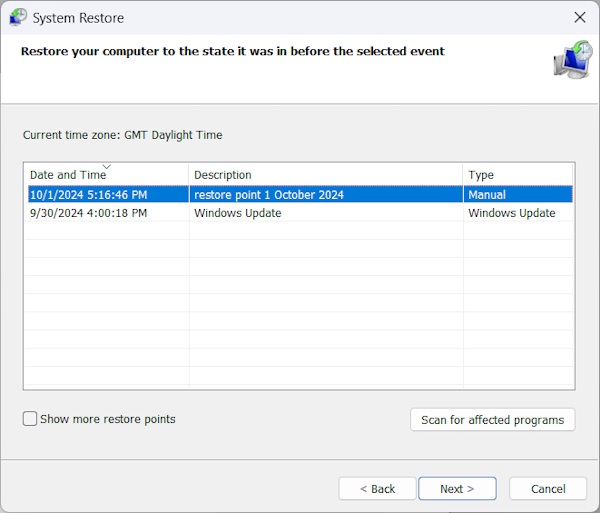
- In the new System Restore window, select the restore point and click “Next>”

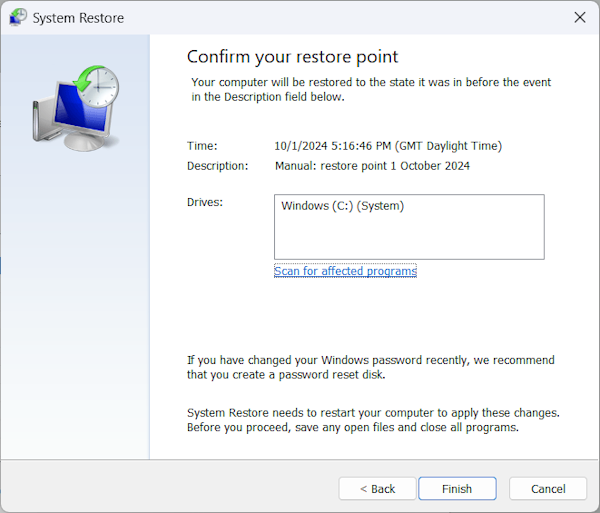
- Another new window will appear, click the “Finish” button to start the restore process
NOTE: A new restore point is made by system restore before it starts the process. This means you can undo your changes by just selecting the new restore point.
System restore will restore system files, drivers, registry settings, and the installed software. Some programs like antivirus tools may not work as well as they should, or at all, after the restoration. As you can see, Windows will list all the affected programs. Take a look at the list so you know which programs will be affected during the process.
Additionally, any Windows Updates installed after the creation of the restore point will be uninstalled. Your personal files and other data will not be affected, so system restore points cannot be considered as a data backup.
System restore does not remove or clean viruses or malware because, unlike regular software, they are deeply rooted in and affect your operating system. Since restore points are saved on each volume, the system restore will not work if the volume has been corrupted. Therefore, you should have other ways to protect your Windows software besides creating restore points in your Windows.
Conclusion
System restore is an important tool for Windows 11 users to restore the system state at the previous restore point. This is especially useful if you experience issues with data corruption or run into problems after installing an update.
However, system restore will only work if you have enabled the feature and created restore points. Unfortunately, Windows 11 doesn’t automatically enable the feature so you’ll need to manually enable it if you haven’t already.
That being said, regular backup is still a good practice to ensure you are not losing important files should you run into system issues. So you shouldn’t just rely on system restore as a safety precaution.
If you find this article useful, feel free to share this on your social media. You can also explore our blog for more tips and tricks on using the Windows system.